Log into the dialer by clicking here and enter your log in information as provided in your Getting Started Guide email.
Step #1 Time Zone Setting:
- From the top right click on your name
- Choose Profile and set your current Time Zone for message delivery and reporting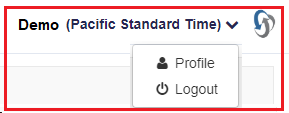
Step #2 Create a Contact Group: (this will be where you upload your contacts too)
- From the Menu Bar select Contact Manager > Groups
- Click on Add Group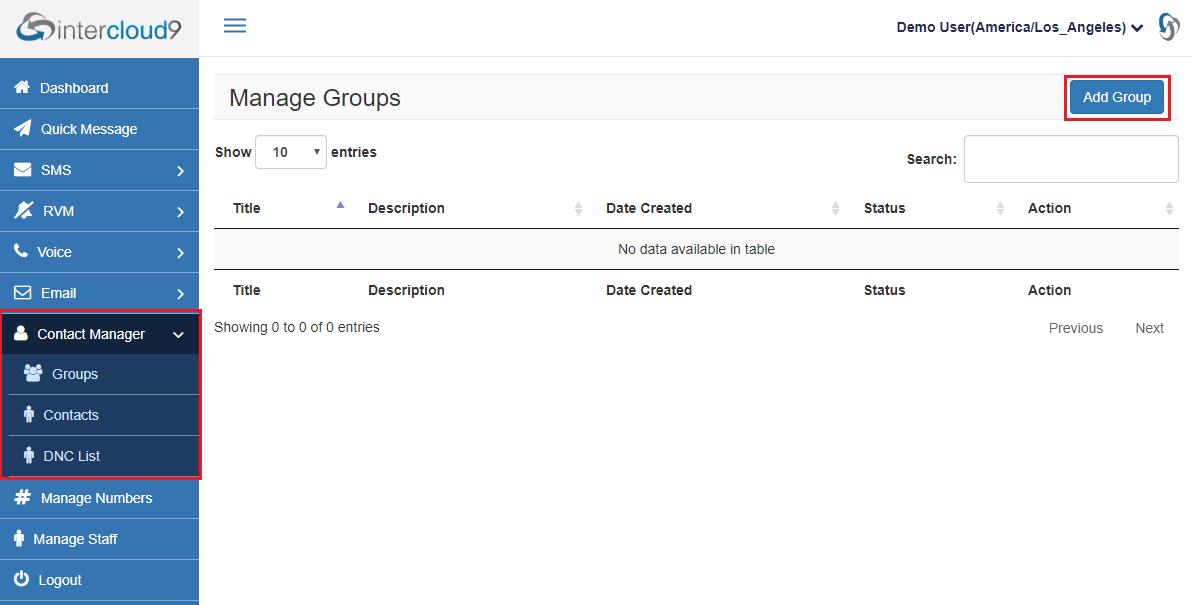
- Name your Group
Staff drop down only available if you have multiple users on the account.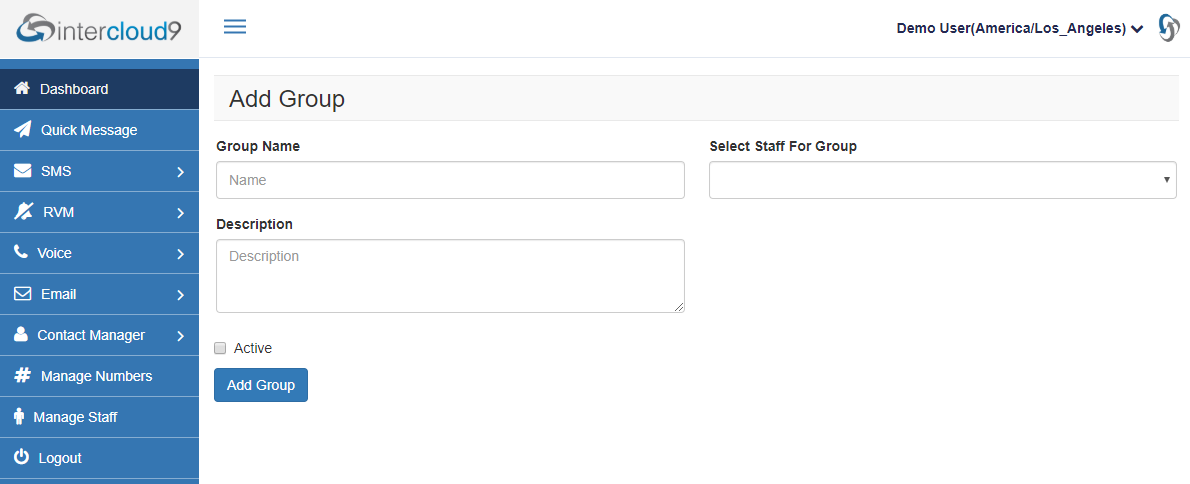
Step #3 Add Contacts to the Group
- From the Action column Select Import Contacts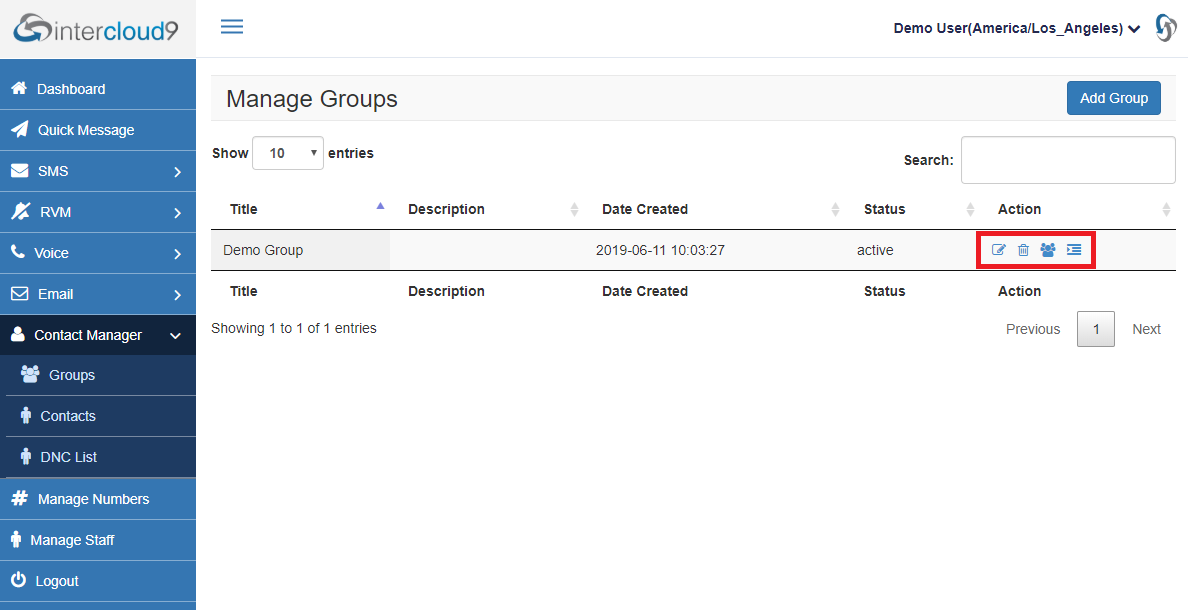
- Choose your CSV file and Select Submit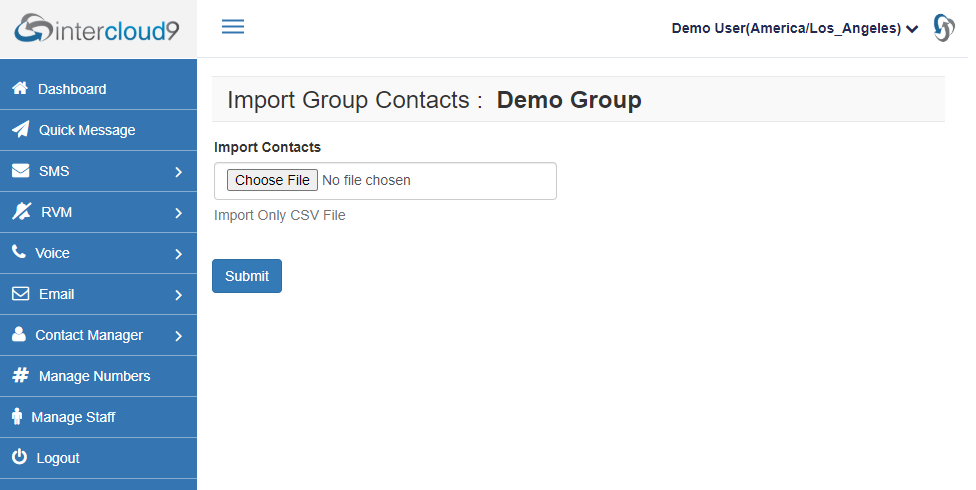
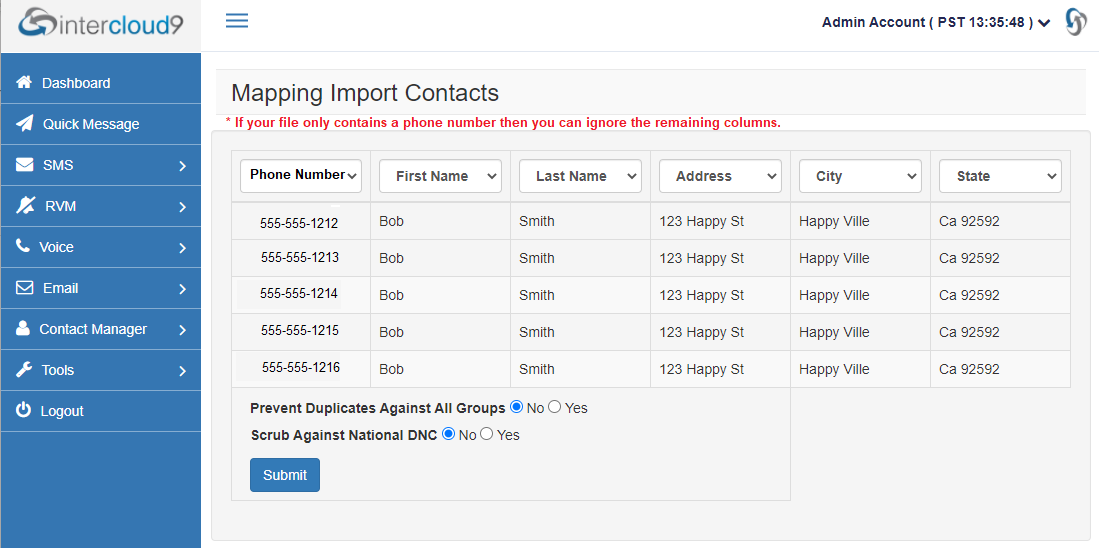
- Map the column header drop downs with the correct data in your file
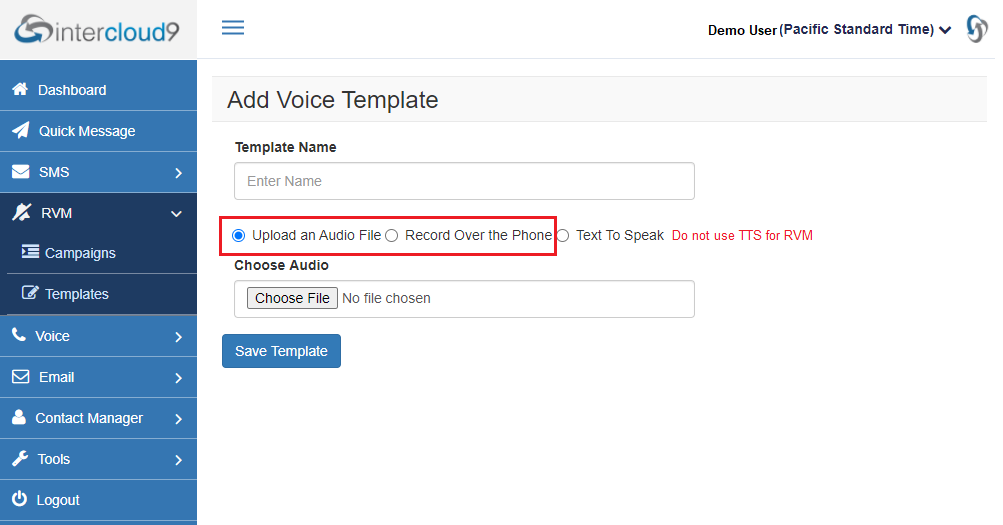
Step #4 Add Voice Template (audio to be played to callers)
- Select Templates from the Voice menu
- Select Add Voice Template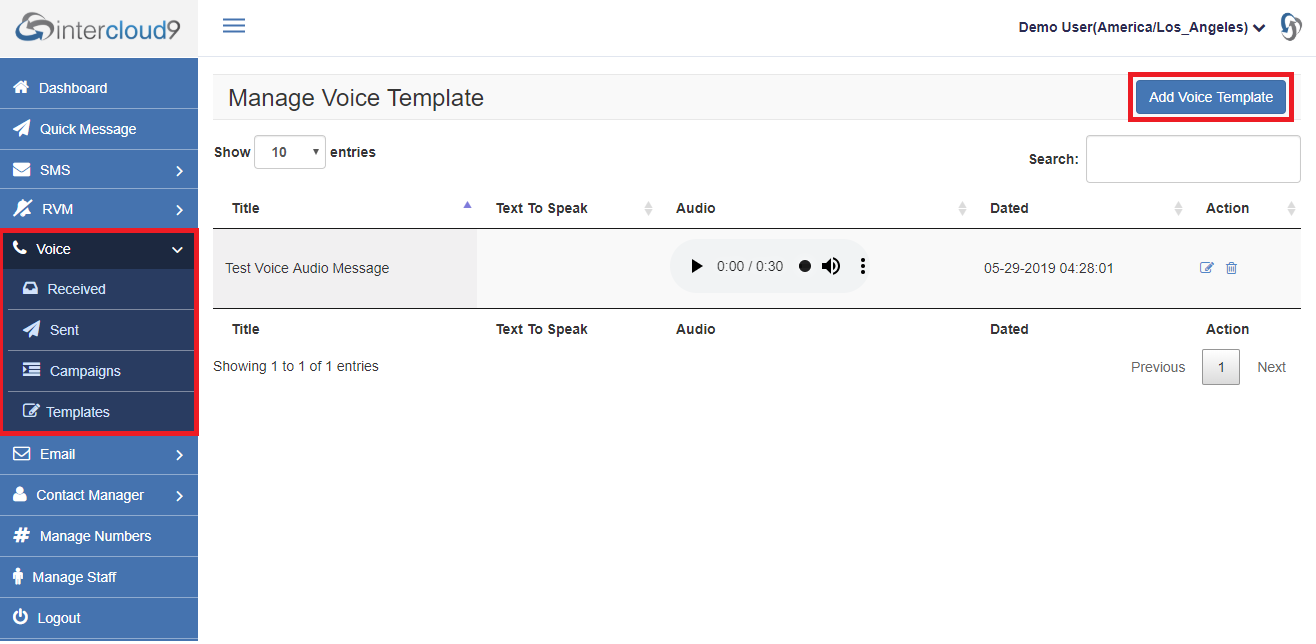
- Add your Voice Message
Choose an audio recording type or type the text to be spoken
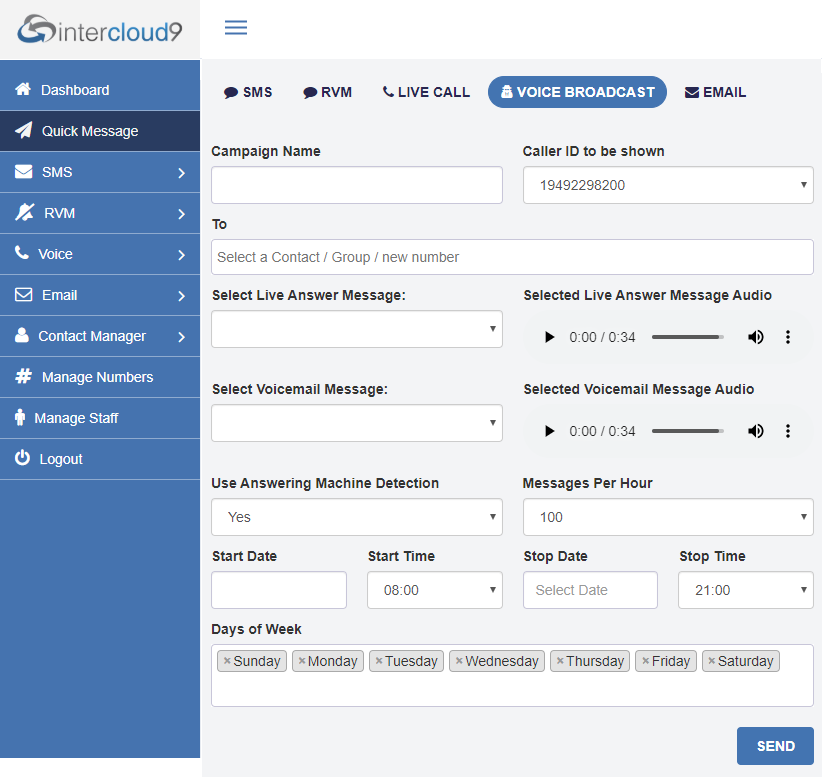
Step #5 Send Group Message
- Click Quick Message from the navigation bar on the left.
- Give your Campaign a Name and select the Caller ID to be displayed.
- In the To: field type in the number or Contact Group name.
- Next choose a pre defined Voice Message template.
- Next select the day and time for your message to be sent
- Set the MPH (Messages Per Hour) high enough to deliver your message during the hours you have set.
Example: 1000 contacts / 10 hrs = 100 MPH
- Click Send YOUR DONE!